Do not like the silent dd on unix? Let’s add a progress bar for it. (Using pv)

Though dd is not efficient, it’s still widely used for many years until now, especially when we are “burning” the disk image of the famous Raspberry Pi or some related boards, the worst point I hate about dd is the silence, it makes me worried, we can not know the progress of the process, and if it takes too much time, we may start to think about if the computer hung, the SD card broken, or something else … until the process finished, that’s very bad.

I’ve found pv and also use it for a while, it’s the Pipe Viewer, a terminal-based tool for monitoring the progress of data through a pipeline, I know it’s not so famous and widely used, so I would like to share and talk about it, let’s start it!

pv is a OSI(Open Source Initiative, not the network Open Systems Interconnection model) certified open source software, here is the homepage of it: https://www.ivarch.com/programs/pv.shtml
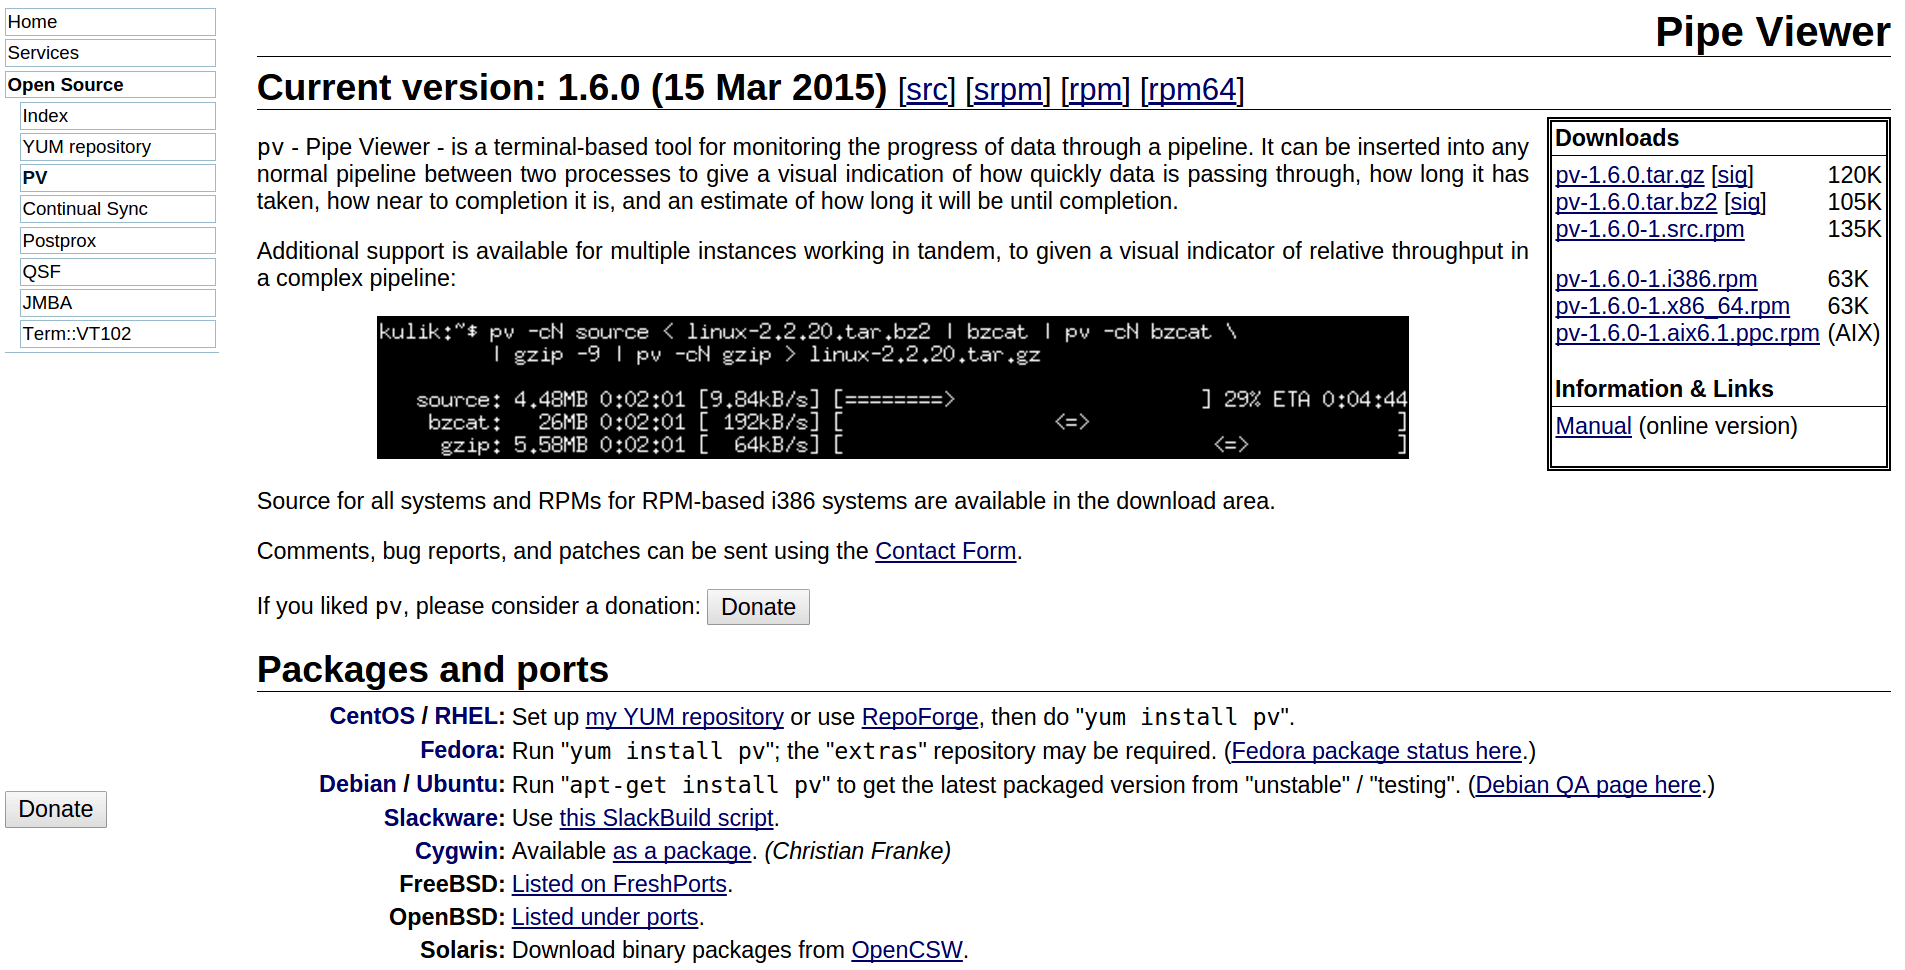
pv-homepage.png

The latest release until now is v1.6.0, the version in Ubuntu 14.04 LTS is v1.2.0, but still works well, I am going to use Raspbian Jessie, version February 2016 (Release date:2016-02-09) as the example image in this post, and writing an raw image to a microSD card as the scenario.

Traditionally, we use dd like this, dd in, dd out, with silence:

$ sudo dd if=./2016-02-09-raspbian-jessie.img of=/dev/sdd bs=10M
dd_install_2016-02-09-raspbian-jessie.png
閱讀全文

Roseapple Pi 蓮霧派 效能簡測 (benchmark)

有關之前玩的蓮霧派(Roseapple Pi):

https://www.peterdavehello.org/2016/02/roseapple-pi-rapi-a-clone-of-raspberry-pi/

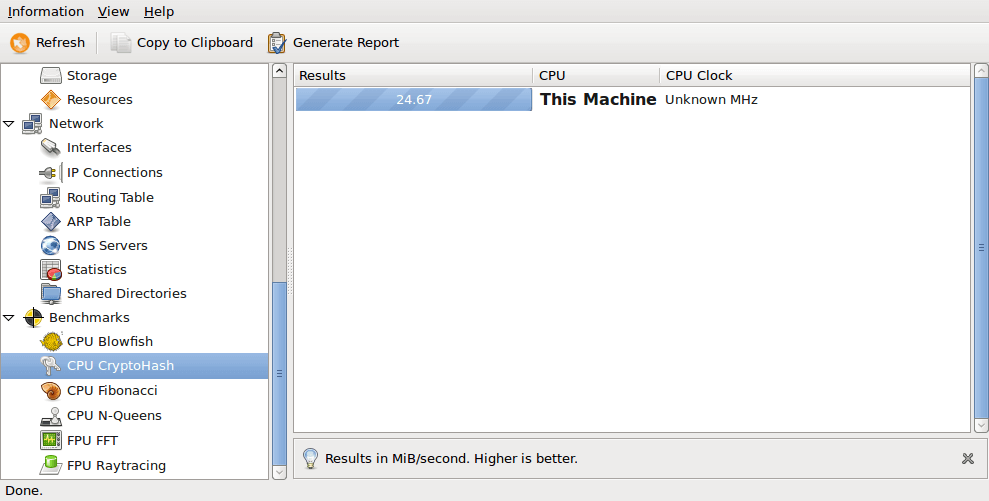
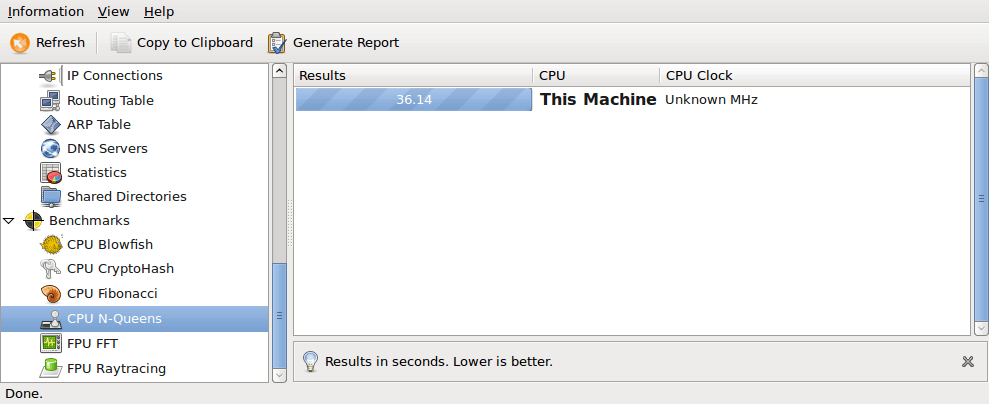
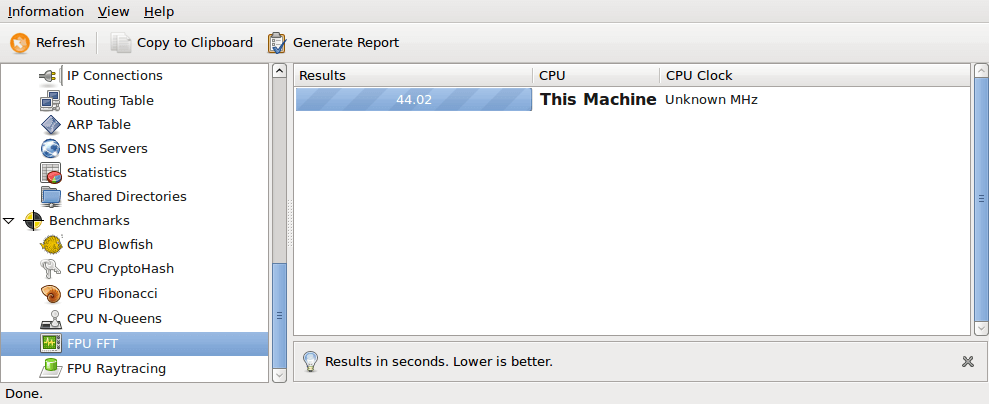
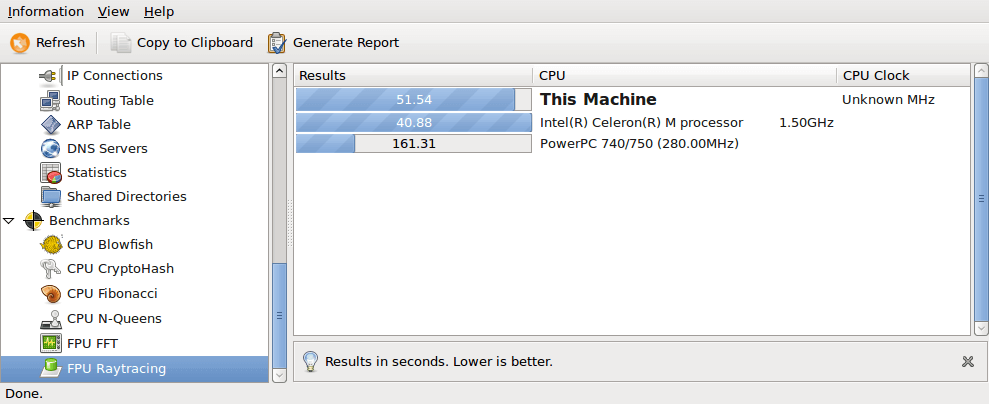
原先是想做一些仔細的效能測試,無奈最近實在太忙,身不由己,懶得詳測了 … 直接上圖吧,分別是在 Debian 底下用 Hardinfo 、sysbench、PHP benchmark Script 以及在 Android 底下用 QuadrantAntutu (安兔兔) 的效能”簡”測結果,比較詳細的測試,以後有緣再說囉。

系統環境的部份都和上一篇的開箱環境基本上都相同,也就是 Debian 8.1 和 Android 5.1.1,相關的映像檔資訊有需要請直接參考上面的連結。

先看在 Debian 8.1 Jessie 底下的測試結果:

Debian, Hardinfo, 直接看圖:

Debian, PHP benchmark Script using php 5.6.17:

--------------------------------------
| PHP BENCHMARK SCRIPT |
--------------------------------------
Start : 2016-02-22 13:51:08
Server : @
PHP version : 5.6.17-0+deb8u1
Platform : Linux
--------------------------------------
test_math : 8.409 sec.
test_stringmanipulation : 8.321 sec.
test_loops : 6.907 sec.
test_ifelse : 4.479 sec.
--------------------------------------
Total time: : 28.116 sec.

Debian, PHP benchmark Script using php 7.0.3 (Using Debian testing repository):

--------------------------------------
| PHP BENCHMARK SCRIPT |
--------------------------------------
Start : 2016-02-22 14:15:05
Server : @
PHP version : 7.0.3-3
Platform : Linux
--------------------------------------
test_math : 2.422 sec.
test_stringmanipulation : 3.245 sec.
test_loops : 3.002 sec.
test_ifelse : 1.955 sec.
--------------------------------------
Total time: : 10.624 sec.

上面兩個結果可以看出 PHP 7.0 的效能進步真的很大!有在寫 PHP 或 Web 相關應用的人可以當作參考。

Debian, sysbench --test=cpu --cpu-max-prime=20000 run (single-thread, 單核心):

閱讀全文

Use ‘jpegoptim’ to optimize/re-compress your jpg images

I use optipng and jpegoptim to help me compress/optimize my jpg/png images.

For png images re-compression, please refer to:

jpegoptim supports many platform, including Solaris, Mac OS X and Windows, of course FreeBSD and Linux, here is its git repository on GitHub:
https://github.com/tjko/jpegoptim

How to install?

FreeBSD:

$ sudo pkg install jpegoptim

For Debian/Ubuntu based GNU/Linux:

$ sudo apt-get install jpegoptim

For CentOS/RHEL/Fedora based GNU/Linux

$ sudo yum install jpegoptim

(on CentOS/RHEL, please enable EPEL repo first)

How to use?

$ jpegoptim image.jpg

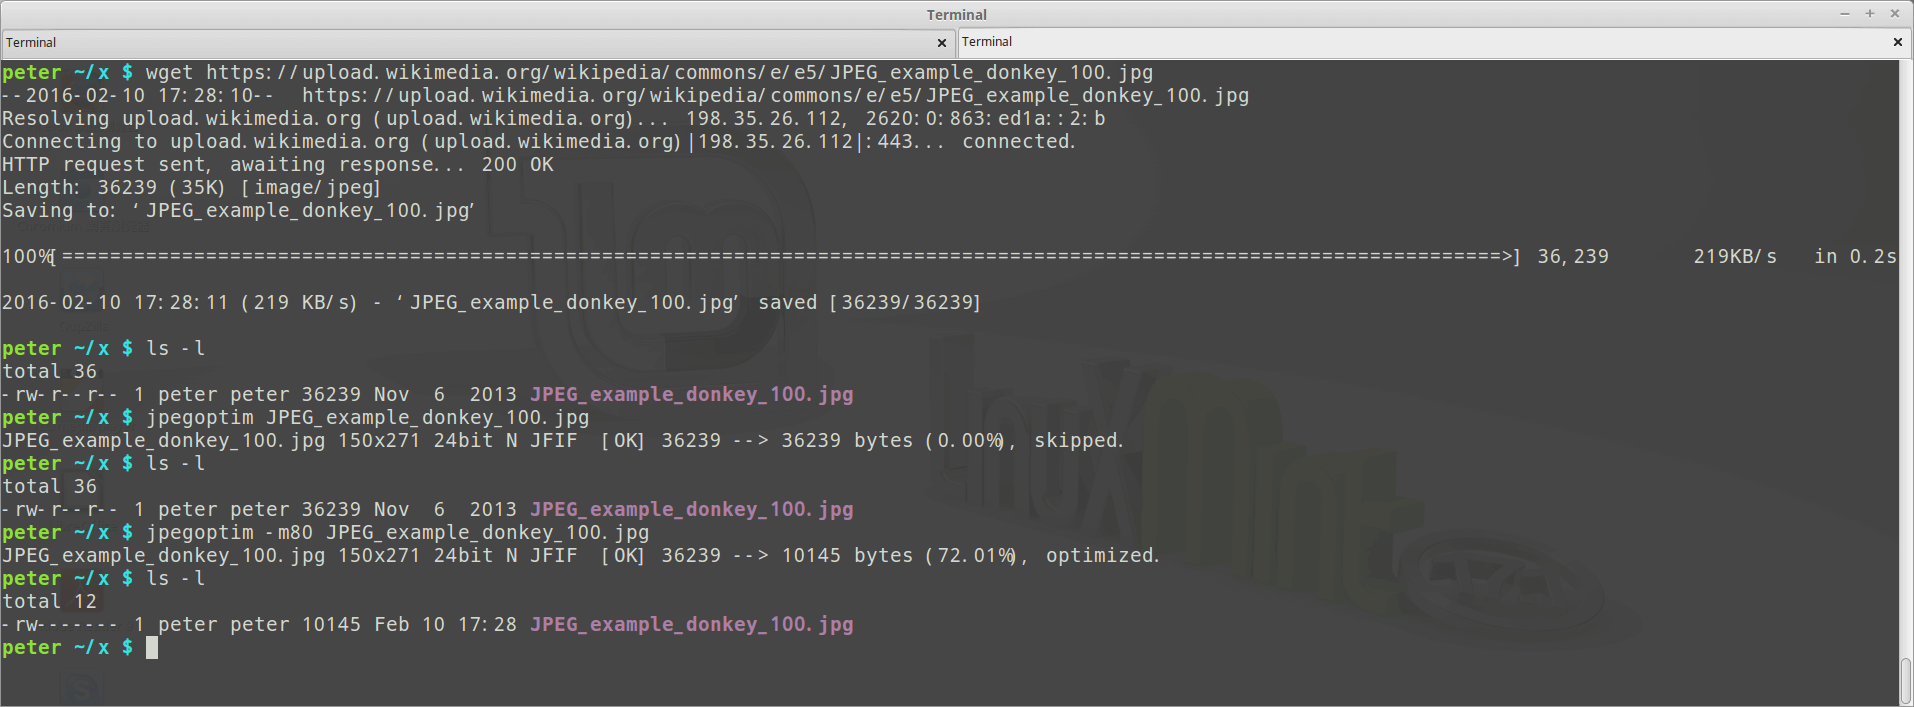
By default, jpegoptim uses ‘lossless‘ mode to re-compress the jpeg images, which means the optimized images will have the same quality just like it was, to make the images smaller, you can use -m<quality>, --max=<quality> to enable lossy optimize by setting its quality, the valid range is 0 – 100, for example, set quality = 90:

$ jpegoptim -m 90 example.jpg

Note that the files that already have lower quality setting will be compressed using the lossless optimization method.

You can also use `find` to help you compress all the jpeg images:

$ find /path/to/imgs -name "*.jpg" -exec jpegoptim -m 90 {} \;

Using this picture on Wikipedia as an exmaple: https://wikipedia.org/wiki/File:JPEG_example_donkey_100.jpg

jpegoptim-example

Before the compression, 36239 bytes (about 36 KB):

JPEG_example_donkey_100


After the compression, 10145 bytes (about 10 KB):

JPEG_example_donkey_80

Can you recognize which one has better/lower quality? :D

Roseapple Pi (RaPi) 台灣蓮霧派初體驗

自從 Raspberry Pi (樹莓派) 在 2012 年初推出至今,市面上的小型單板電腦(one board computer) 可說是如雨後春筍般冒出,例如 CubieboardGalileoUDOOBanana Pi 、Orange Pi 等,尤其是各種 “水果派”,畢竟 Raspberry Pi 的共同創辦人 Eben Upton 都說歡迎山寨廠抄襲、複製了(Raspberry Pi 創辦人在台專訪:歡迎山寨廠商來競爭、複製),而這次要來玩的 Roseapple Pi 也是其中一款向 Raspberry Pi 致敬的產品!

其實早在 Raspberry Pi 之前就已經有如 PandaBoard、 ODROIDBeagleBoard 等開發板,Raspberry Pi 最讓人震憾的還是他的價格,當時的 model A / B 分別只要美金 25$ / 35$ ,換算下來約台幣一千元就可以有一台不含週邊設備、硬碟的電腦主機,這對於偏遠地區的資訊教育來說是有著顯著的門檻降低功用 (當然還是需要師資以及其他設備啦),當時看到樹莓派二話不說就立刻跟授權廠商之一的 RS Components 下訂單了,還記得那時候主機本體、外殼是分兩次從英國原廠寄出,讓我有點吃驚(畢竟沒多少錢的東西),雖然等了一小段時間,但想想是從英國搭飛機來的,也就還說的過去。

我玩樹莓派的主要用途是學習 Unix 系統以及影音播放(放客廳再方便不過了、還可以透過網路存取影片),主要看上的就是這類開發板省電、低費熱、零噪音、體積小,但樹梅派有個小缺點,就是運算效能不高,可能各位手上的手機可能速度就比樹莓派來的快的多,樹梅派最初使用的是 Broadcom BCM2835 單核心的 SoC ,後續的 B+ model 雖然在規格上有所調整,但效能上並沒有進步,這大概是當時後愈來愈多號稱效能超越樹莓派的開發板不斷冒出來的原因之一,一直到 2015 年推出的 Raspberry Pi 2 才改採用 ARMv7 架構、四核心處理器的 BCM2836,同時也把記憶體容量,算是有相當程度的提升(官方宣稱是6倍),雖然晚了點,但有總比沒有好,只是有時候看影片還是沒辦法很順暢,所以我才希望找看看有沒有其他替代產品,不但能播放影片、還能讓我練習一些 Linux 管理、開發相關的平台,於是就找到蓮霧派了!

身為致敬產品,蓮霧派的 CPU / RAM / USB 規格算是比較吸引我的地方,官方公佈的規格可以看這邊:
http://roseapplepi.org/index.php/spec/

規格還不錯,不過沒有內建 Wifi / Bluetooth,網路卡也只有到 100 Mbits

比較吸引我的幾個規格:
RAM: 2GB DDR3 (2GB 比我手機還大了)
USB port: USB 3.0*1 (Type A) + USB 2.0*2 (Type A)
External Buttons: On/Off,(Sleep/wake)/Reset (內建自己的開關/按鍵)
Operation Systems: Debian, Ubuntu, Fedora, Android 5.0/5.1 (可以跑 Andoird 5.1 !!!)

很可惜在處理器部份並沒有詳細的資料可以參考,沒看錯的話 Roseapple Pi 採用的是 Actions Semi (炬力) 的 S500 整合晶片,S500 這款 Soc 在官網上並沒有自己的 Spec 或是 Product page,只能從 ActDuino S500 這款開發板上的介紹略知一二,簡單挑重點來講,這款 Soc 為 28nm 製程 、包含了 Cortex-A9R4 中央處理器、NEON SIMD 協同處理器、PowerVR SGX544 繪圖晶片,能夠支援到 4K 或是 1080p@60fps 的高品質影片播放,同時支援了 USB 3.0, HDMI 1.4b,等等的規格,不過因為不是本篇重點,其餘就不贅述了。

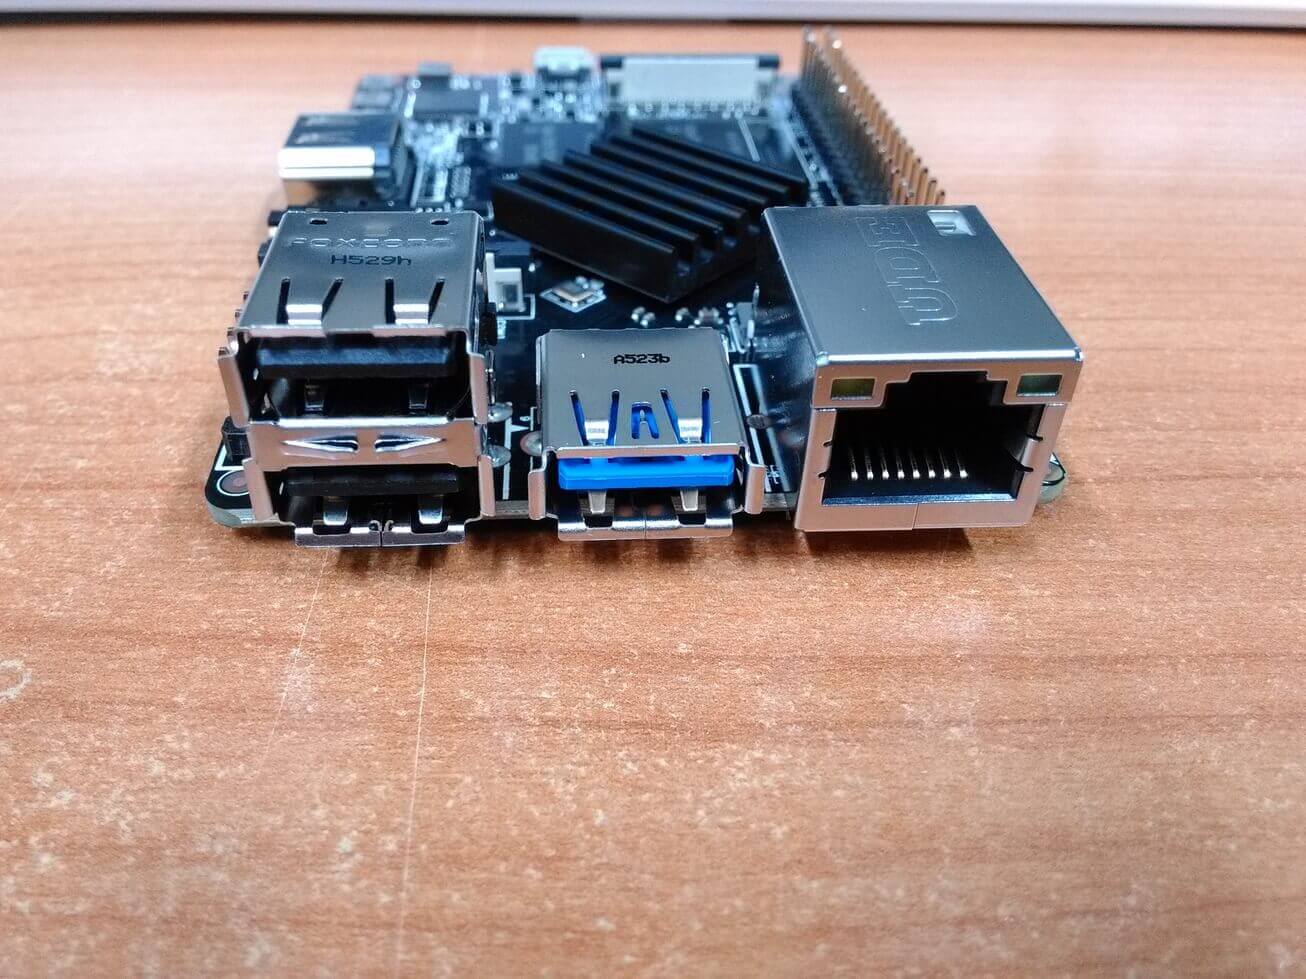
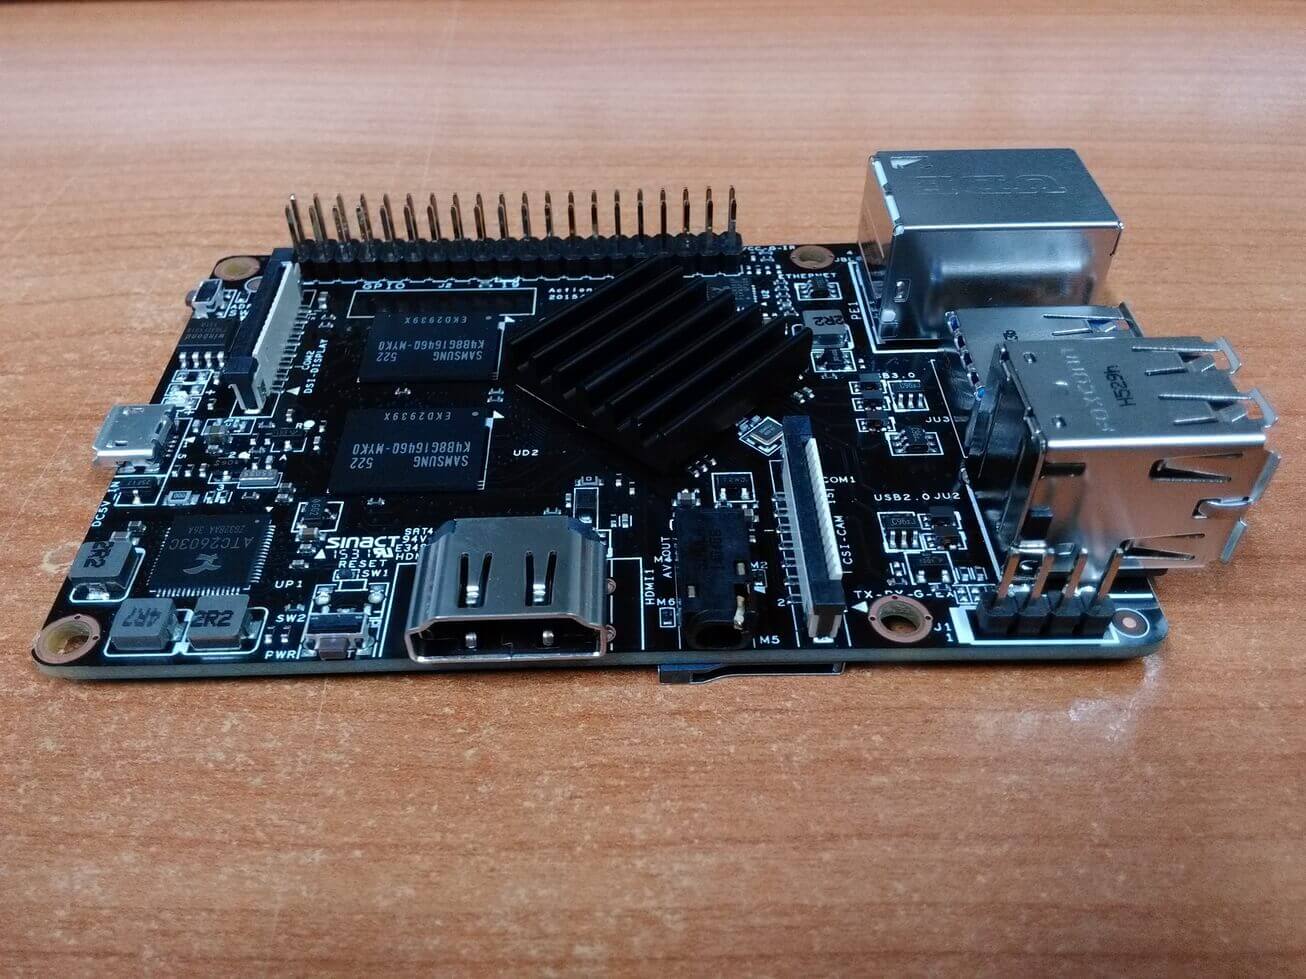
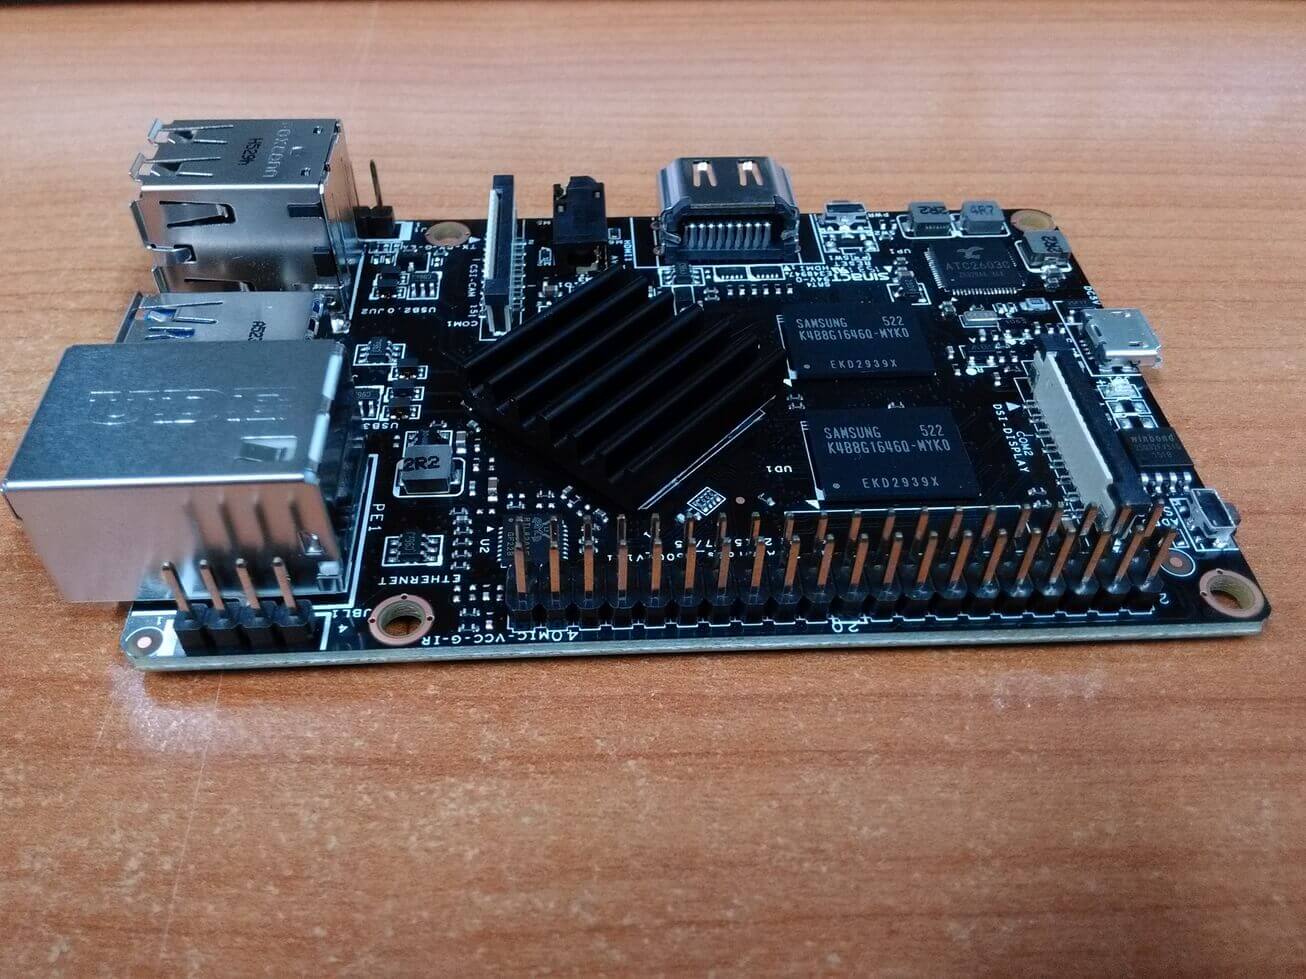
先從外觀開始看,開箱就省了吧,直接看開完箱的照片:

USB / 網路孔正面照,在這個 USB 3.0 還沒全面普及的時刻,能在這種單板電腦上看到,真是莫名的感動!

170008

拍的有點暗,懶得重拍了,加減看,從左至右分別是 power button, HDMI, 3.5mm audio, CSI 相機接頭,UART debug pin

165946

最左邊 4 個 pin 是麥克風跟紅外線使用的,右邊兩排共 40 個 pin 是 GPIO

165955

閱讀全文