Build Chromium OS from source [notes]

Environment: Ubuntu server 14.04.2 LTS x86_64 with Xeon E3-1230 V2 and 8G ram

Reference: Chromium OS Quick Start Guide

Step by step:

Install the necessary packages:
[bash]$ sudo aptitude install git-core gitk git-gui subversion curl[/bash]

Install depot_tools:
[bash]$ git clone https://chromium.googlesource.com/chromium/tools/depot_tools.git –depth 1[/bash]
Add depot_tools to your PATH:
[bash]$ export PATH=`pwd`/depot_tools:"$PATH"[/bash]

Tweak sudoers config:

[bash]
cd /tmp
cat > ./sudo_editor <<EOF
#!/bin/sh
echo Defaults \!tty_tickets > \$1 # Entering your password in one shell affects all shells
echo Defaults timestamp_timeout=180 >> \$1 # Time between re-requesting your password, in minutes
EOF
chmod +x ./sudo_editor
sudo EDITOR=./sudo_editor visudo -f /etc/sudoers.d/relax_requirements
[/bash]

Create directory for chromiumos:
[bash]$ mkdir -p ${HOME}/chromiumos[/bash]
Get the source code:
[bash]$ cd ${HOME}/chromiumos
$ repo init -u https://chromium.googlesource.com/chromiumos/manifest.git –repo-url https://chromium.googlesource.com/external/repo.git
$ repo sync[/bash]

Create(and enter) a chroot(still in the directory for chromiumos):
[bash]$ cros_sdk[/bash]

Choose a board you want to build for, from ~/trunk/src/overlays, and export it to environment:
[bash]chroot$ export BOARD=amd64-generic[/bash] (I selected amd64 arch)
Setup board:
[bash]chroot$ ~/trunk/src/scripts/setup_board –board=${BOARD}[/bash]
Setup password:
[bash]chroot$ ~/trunk/src/scripts/set_shared_user_password.sh[/bash]
(if you want to config kernel, you can try to configure it now, via ~/trunk/src/third_party/kernel/v3.4/chromeos/scripts/kernelconfig, place v3.4 with your kernel version here)
Build packages:
[bash]chroot$ ~/trunk/src/scripts/build_packages –board=${BOARD}[/bash]
Build image(we are almost there):
[bash]chroot$ ~/trunk/src/scripts/build_image –board=${BOARD} –noenable_rootfs_verification dev[/bash]

Copy image to a usb drive:
[bash]chroot$ cros flash –board=${BOARD} usb://[/bash]
or copy to file:
[bash]chroot$ cros flash –board=${BOARD} file://./[/bash]
or create a imgage for virtual machine
(default for kvm, for other vm you can pass parameters –format=vmware or –format=virtualbox):
[bash]chroot$ ~/trunk/src/scripts/image_to_vm.sh –board=${BOARD}[/bash]
(image will be here : ~/trunk/src/build/images/${BOARD}/latest/)

If you copy image to a file, you can use dd to write to a usb disk like this:
[bash]$ sudo dd if=./chromiumos_image.bin of=/dev/sde bs=4M[/bash]

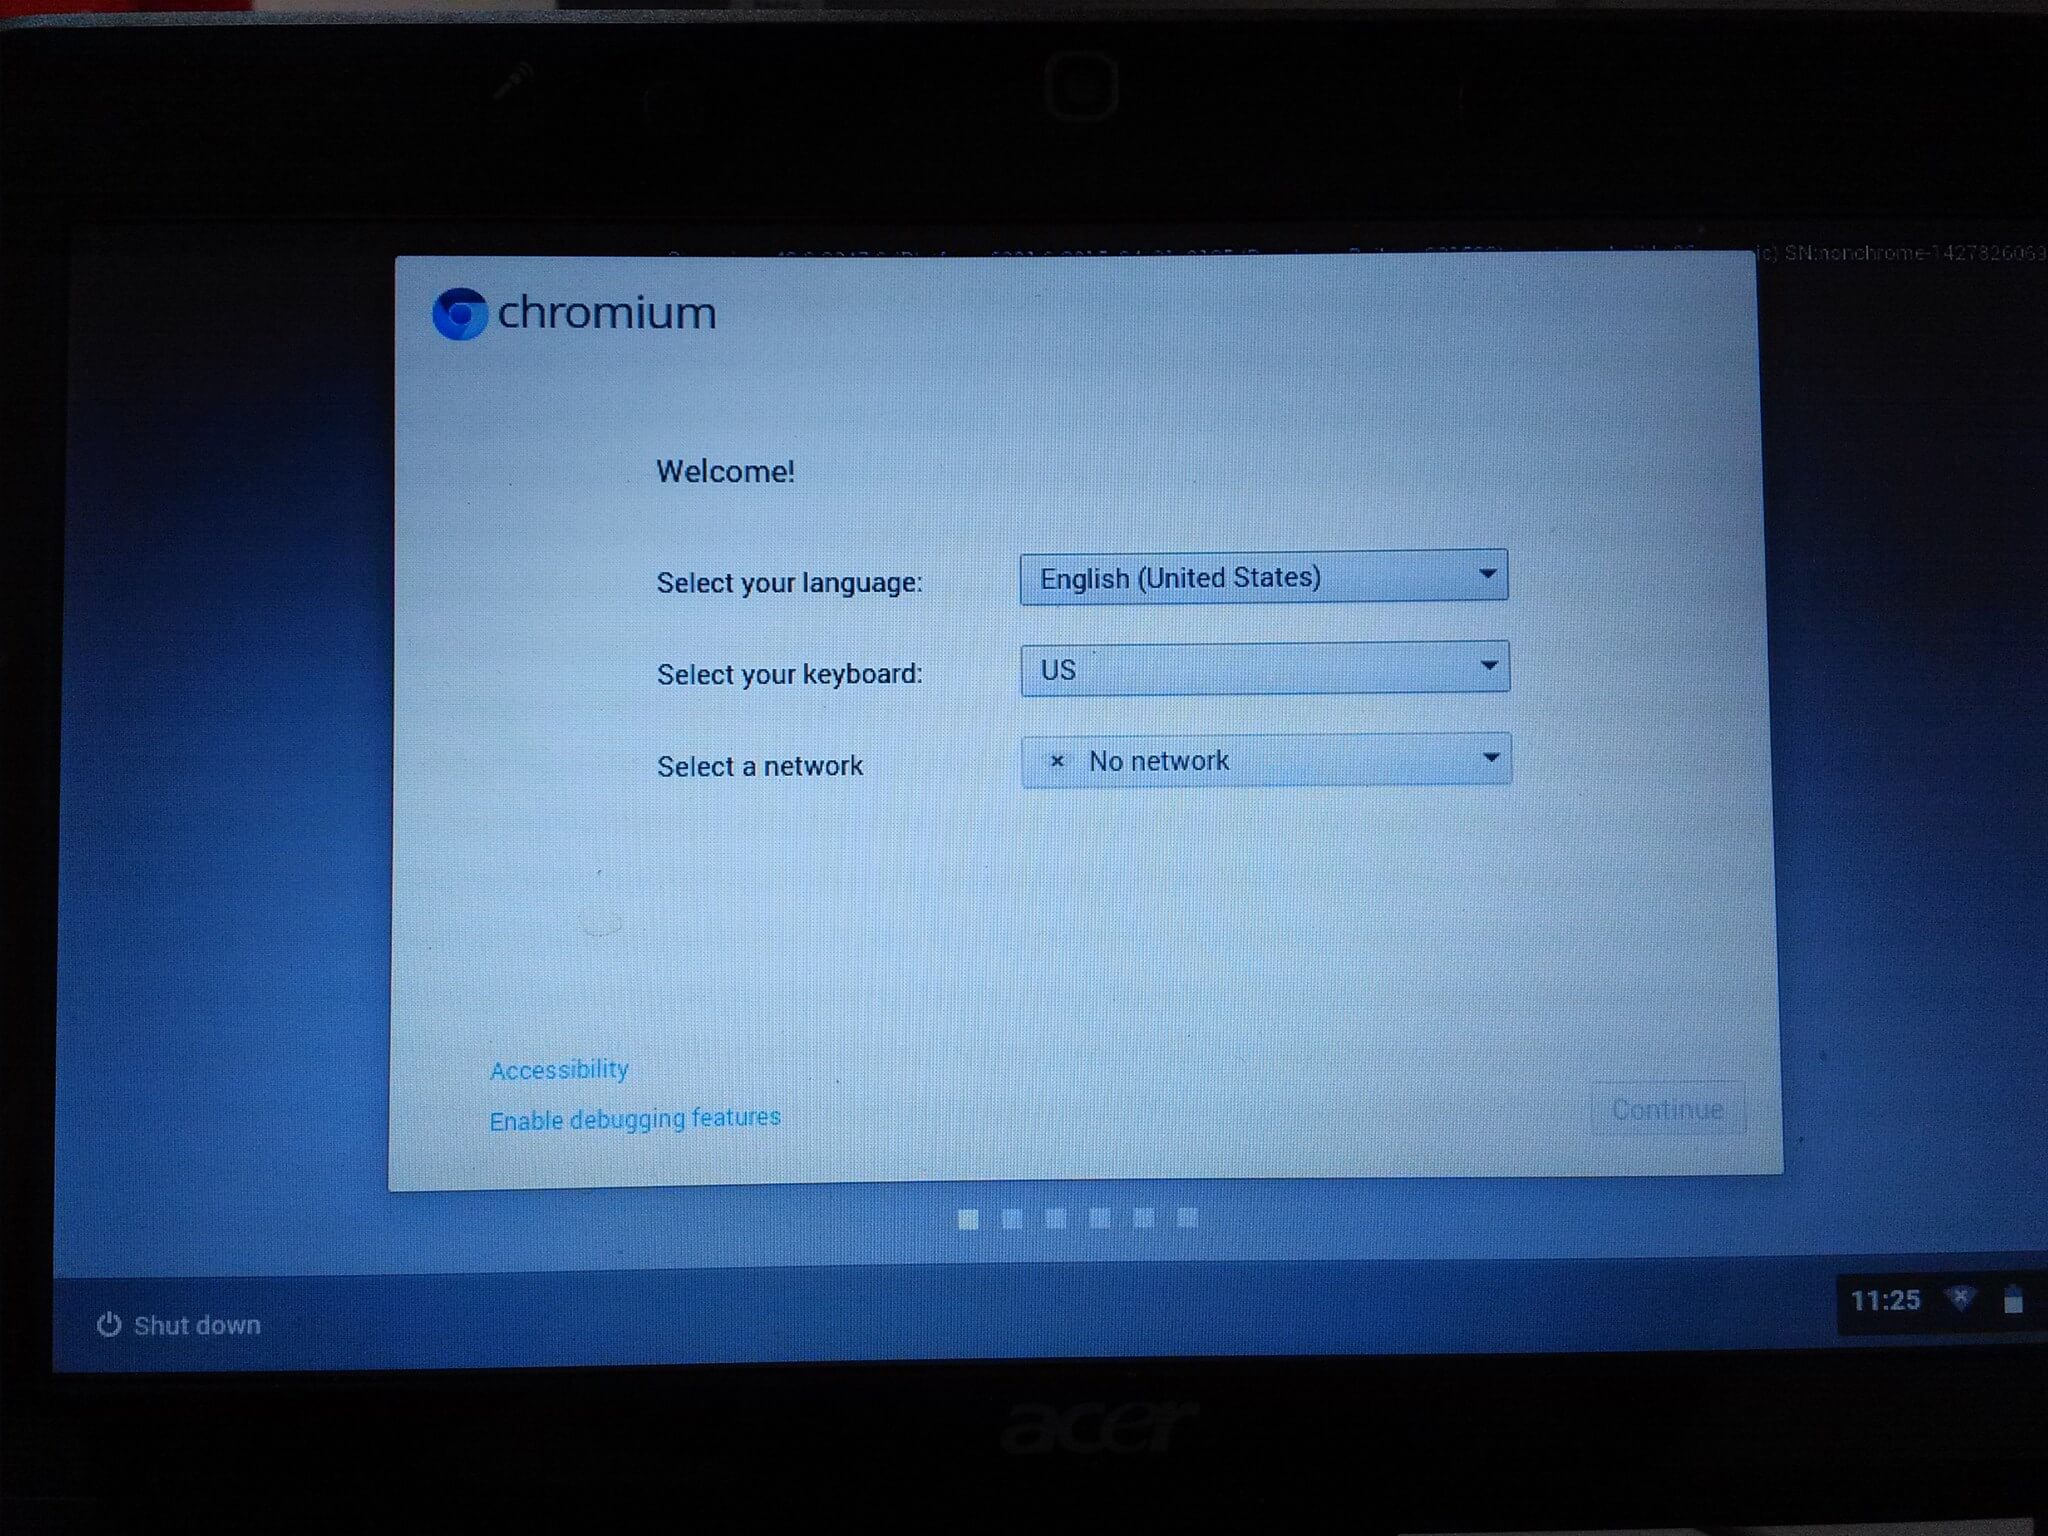
And then you can boot a computer via this usb disk now.

If you got kernel panic, you may need to press Esc and try this command to boot
[bash]chromeos-usb.A boot=/dev/sdX3[/bash], X may be a~e

If you want to install Chromium OS to your hard disk, try this command when your usb disk boot up:
[bash]$ sudo /usr/sbin/chromeos-install[/bash], PS, it’ll wipe your disk!!!

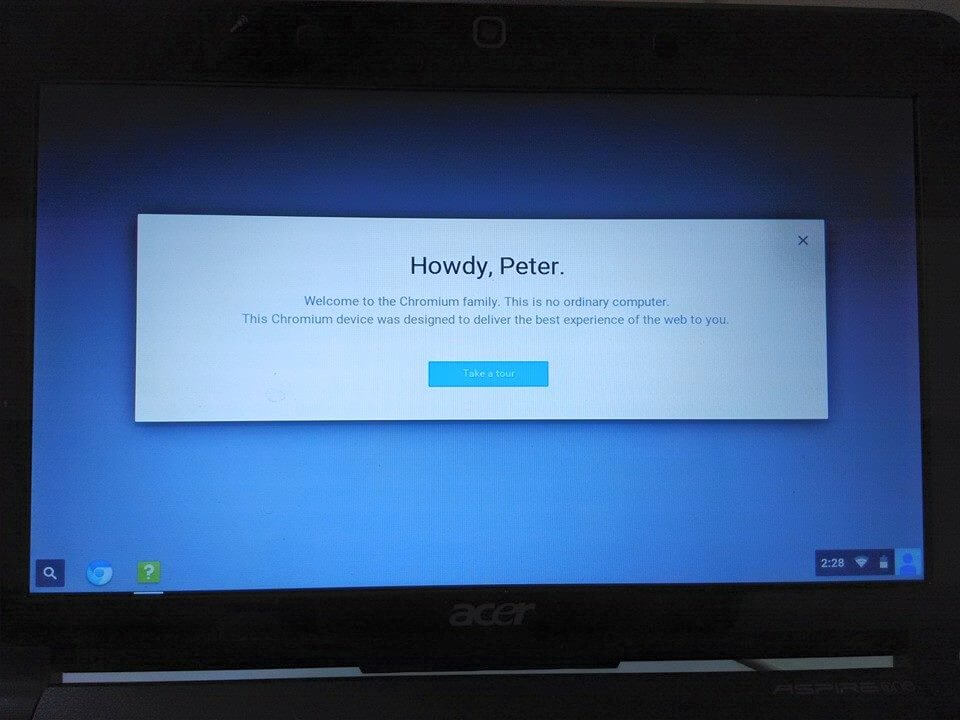
Don’t know what’s the reason why it’ll keep getting deadly segment fault and hang, but it works on my acer Aspire one D150, a super old notebook, the performance is not so good, and I don’t know how to remap the keyboard on it(there are 3 broken keys orz …), so I just quit, ha!

Only 2 screenshots this time … took by my low-end phone.
ChromiumOS

ChromiumOS2

The fxxking stupid error msg from Virtualbox

VirtualBox 4.3.18 from LinuxMint’s repo, when starting a VM, I got this:

vboxsrv

So I did what is said:
$ sudo /etc/init.d/vboxdrv setup
And it told me:

sudo: /etc/init.d/vboxdrv: command not found

And I spent about 1 hour to find a method to fix it, no methods work!

I found that there is /etc/init.d/virtualbox, so I tried:
$ sudo /etc/init.d/virtualbox start

* Starting VirtualBox kernel modules [ OK ]

Try to start VM in VirtualBox again, WTF, it works now, shame on the stupid error message!

How to install ruby gem packages without Internet?

git_stats is a good tool to analyze the statistics of a git repo, there is an issue tomgi/git_stats#45 How to Install Offline in that project, I think this is a good question, sometimes the speed or quality of Internet is not so fast and stable, or we want to install a gem package on a server that can only access internal network only, so I tried to figure it out, that’s the solution:

Milly/gem-fetch-dependencies is a ruby script posted on gist, it can help us fetch gem packages with the dependency, we can’t just fetch the package we want to use via gem fetch , because it doesn’t handle the dependency issue, that’s why we need this script, download the script(raw) first:

https://gist.github.com/Milly/909564/raw/c3c921e78b6736197558ee44efb84a495f4c1505/gem-fetch-dependencies
[ruby]#!/usr/bin/ruby

require ‘rubygems’
require ‘rubygems/commands/fetch_command’

class Gem::Commands::FetchCommand
def add_version_option_with_fetch_depends
add_version_option_without_fetch_depends
add_option(‘-y’, ‘–[no-]dependencies’,
"Fetch dependent gems") do |value, options|
options[:dependencies] = value
end
end

def get_all_gem_names_with_fetch_depends
@dependent_gem_names || get_all_gem_names_without_fetch_depends
end

def execute_with_fetch_depends
execute_without_fetch_depends
if options[:dependencies] then
@dependent_gem_names = get_dependent_gem_names
options[:version] = nil
execute_without_fetch_depends
end
end

[:add_version_option, :get_all_gem_names, :execute].each do |target|
feature = "fetch_depends"
alias_method "#{target}_without_#{feature}", target
alias_method target, "#{target}_with_#{feature}"
end

private
def get_dependent_gem_names
version = options[:version] || Gem::Requirement.default
request_gem_names = get_all_gem_names_without_fetch_depends.uniq
to_do = fetch_specs_by_names_and_version(request_gem_names, version)
seen = {}

until to_do.empty? do
spec = to_do.shift
next if spec.nil? or seen[spec.name]
seen[spec.name] = true
deps = spec.runtime_dependencies
deps.each do |dep|
requirements = dep.requirement.requirements.map { |req,| req }
all = !dep.prerelease? and
(requirements.length > 1 or
(requirements.first != ">=" and requirements.first != ">"))
result = fetch_spec(dep, all)
to_do.push(result)
end
end

gem_names = seen.map { |name,| name }
gem_names.reject { |name| request_gem_names.include? name }
end

def fetch_specs_by_names_and_version(gem_names, version)
all = Gem::Requirement.default != version
specs = gem_names.map do |gem_name|
dep = Gem::Dependency.new(gem_name, version)
dep.prerelease = options[:prerelease]
fetch_spec(dep, all)
end
specs.compact
end

def fetch_spec(dep, all)
specs_and_sources, errors =
Gem::SpecFetcher.fetcher.fetch_with_errors(dep, all, true,
dep.prerelease?)
if platform = Gem.platforms.last then
filtered = specs_and_sources.select { |s,| s.platform == platform }
specs_and_sources = filtered unless filtered.empty?
end
spec, source_uri = specs_and_sources.sort_by { |s,| s.version }.last
spec
end
end

load `which gem`.rstrip
[/ruby]

and we can easily fetch the gem packages with dependencies with this script like this:
$ ruby gem-fetch-dependencies fetch --dependencies

Once we fetched all the packages, you copy them to everywhere you want, and install them locally:
$ gem install -f --local *.gem

Online disk defragment on Linux

Though we rarely defragment the filesystem on unix-like os, sometimes we still need it.

The demonstrate is on LinuxMint 17.1 Cinnamon 64-bit which is based on Ubuntu 14.04 LTS.

Okay, let’s check the fragmentation first!

Here is a very easy method to check the fragment on ext4 online:
$ sudo fsck -fn /dev/sdXY, replace XY for yourself, for example, $ sudo fsck -fn /dev/sda1

The output will look like this:

fsck from util-linux 2.20.1
e2fsck 1.42.5 (29-Jul-2012)
Warning! /dev/sda1 is mounted.
Warning: skipping journal recovery because doing a read-only filesystem check.
Pass 1: Checking inodes, blocks, and sizes
Pass 2: Checking directory structure
Pass 3: Checking directory connectivity
Pass 4: Checking reference counts
Pass 5: Checking group summary information
/dev/sda1: 247/121920 files (0.4% non-contiguous), 66062/487424 blocks

(BTW, this method could also work on ext2, ext3)

and on xfs:
$ xfs_db -c frag -r /dev/sdXY, for example,$ xfs_db -c frag -r /dev/sda1

The output will look like this:

actual 297843, ideal 286076, fragmentation factor 3.95%

And defrag a partition now!

This is the command to defrag ext4 online:
$ sudo e4defrag -v /dev/sdXY, for example, $ sudo e4defrag -v /dev/sda1
(BTW, device /dev/sdXY can be replaced by a regular file or a directory, this is supported in e2fsprogs 1.42.9)

The output will look like this:

ext4 defragmentation for device(/dev/sda1)
[2/238]/boot/System.map-3.2.0-4-686-pae: 100% [ OK ]
[3/238]/boot/vmlinuz-3.16-0.bpo.2-686-pae: 100% [ OK ]
[5/238]/boot/grub/video_cirrus.mod: 100% [ OK ]
[6/238]/boot/grub/usb_keyboard.mod: 100% [ OK ]
[8/238]/boot/grub/locale/pl.mo: 100% [ OK ]
[9/238]/boot/grub/locale/nl.mo: 100% [ OK ]

.
.
.

[223/238]/boot/grub/password_pbkdf2.mod: 100% [ OK ]
[224/238]/boot/grub/videotest.mod: 100% [ OK ]
[225/238]/boot/grub/ntldr.mod: 100% [ OK ]
[226/238]/boot/grub/udf.mod: 100% [ OK ]
[227/238]/boot/grub/halt.mod: 100% [ OK ]
[228/238]/boot/grub/minix.mod: 100% [ OK ]
[229/238]/boot/grub/gfxterm.mod: 100% [ OK ]
[230/238]/boot/config-3.2.0-4-686-pae: 100% [ OK ]
[231/238]/boot/memtest86+_multiboot.bin: 100% [ OK ]
[232/238]/boot/memtest86+.bin: 100% [ OK ]
[233/238]/boot/System.map-3.16-0.bpo.2-686-pae: 100% [ OK ]
[234/238]/boot/initrd.img-3.2.0-4-686-pae: 100% [ OK ]
[235/238]/boot/initrd.img-3.16-0.bpo.2-686-pae: 100% [ OK ]
[237/238]/boot/config-3.16-0.bpo.2-686-pae: 100% [ OK ]
[238/238]/boot/vmlinuz-3.2.0-4-686-pae: 100% [ OK ]

Success: [ 234/238 ]
Failure: [ 4/238 ]

And here is the command to defrag xfs online:
$ sudo xfs_fsr -v /dev/sdXY, for example, $ sudo xfs_fsr -v /dev/sda1
(device /dev/sdXY by a file, but a directory is not supported yet in xfs_fsr version 3.1.9)

/ start inode=0
ino=1020
extents before:2 after:1 DONE ino=1020
ino=2000
extents before:3 after:1 DONE ino=2000
ino=2270
extents before:2 after:1 DONE ino=2270
ino=2272
extents before:2 after:1 DONE ino=2272
ino=2497
extents before:2 after:1 DONE ino=2497
ino=2498
extents before:2 after:1 DONE ino=2498
.
.
.

Not very hard, but useful, if the data on the target to defrag is important, I’ll respectfully suggest you to backup first, in case there is an accident like losing electrical power.